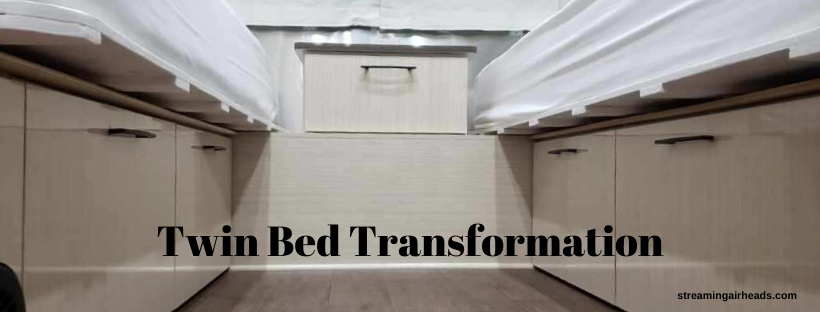
Recently we made changes to our Airstream International Serenity’s twin beds. We are so pleased with the results, we decided to share how and why we made the transformation.
We were camping one weekend in our Airstream and noticed that the bottom of our bedding and the top of the bed platform were damp. Upon researching, we found that during cold-weather camping condensation forms between the mattresses and the bed platform. This is due to the storage compartments below the bed remaining cool while the beds are warmed by our body heat and the warmth inside the trailer. Mold can form not only on the underside of the mattresses but also on the bed platforms themselves.
We knew immediately that we had to fix that! There is no way we wanted mold and mildew to invade our Airstream!

We looked for solutions. At first, we discovered hypervent condensation prevention matting, which is a product used in marine and RV applications that is designed to alleviate this exact moisture problem. We tried the hypervent, but it was slippery and because of its honeycomb-like texture we worried it would snag the mattresses. And, to top it off, the already difficult process of making the twin beds was made worse. I had even screwed the hypervent down, using a couple of the existing platform screws and a decent sized washer to hold the hypervent in place, however, I just didn’t like the setup.
Along the way, finding our original mattresses in our Airstream were quite uncomfortable, we upgraded with two brand new memory foam ones. We definitely needed to protect our investment.
If you have a newer Airstream with twin beds, you are probably already aware that the bed platform doesn’t extend far enough width-wise to support the mattress. This results in a couple of inches of mattress overhanging the platform base. It also restricts the sleeping area, as you felt you’d roll out when you got close to the edge of the bed. We wanted to address that issue as well.
To rectify both of these issues, we built new and improved platforms and transformed our Airstream’s twin beds.
The entire process from start to finish transpired over time, however, the job itself can be done within a week or less if one is so inclined. It was through trial and error that we arrived at the final design.
The first step was to find a large piece of paper to make a template to cut the curve of the bed foundation. We used some packing paper from a roll that we had on hand, but you can also use cardboard or Red Rosin paper. We laid the paper out on the head end of the bed, taped it down so it wouldn’t move around, pushed it into the corner along the bed and airstream wall, creasing it, and then marked it with a pencil.
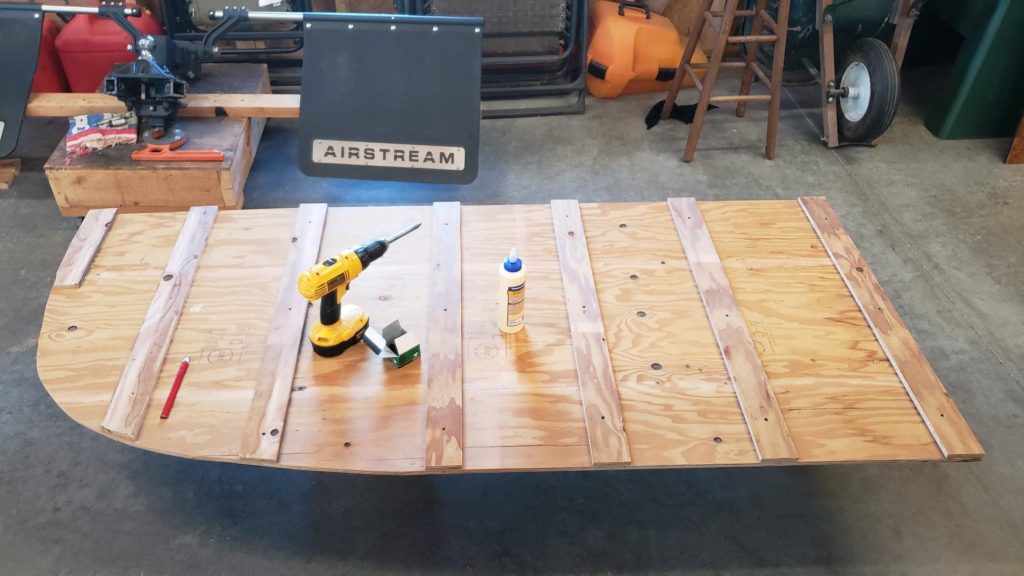
We purchased some half-inch plywood and cut it to 35 x 80 inches. Then we laid the template down on the plywood, drew the curve, and cut it with a jigsaw. We then carried the plywood into the Airstream and laid it out on the existing bed platform to check the fit. You may find it necessary to trim the curved area a bit here and there to make sure the whole platform lines up properly before installing it. Remember, Airstreams are handcrafted and the curvature of the two sides may not be exactly the same.
Once we were happy with the fit, we ripped 3-inch wide strips from the half-inch plywood and glued/screwed them to the bottom of the new platforms. We used seven strips for each side. This allows the new platform to be raised up on the original platform and permits airflow to eliminate the moisture issue.
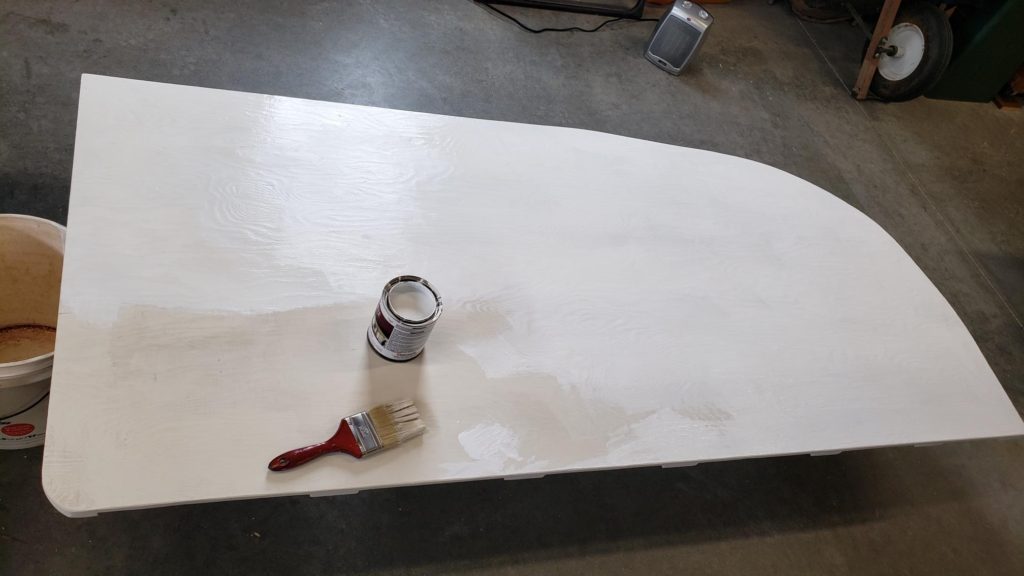
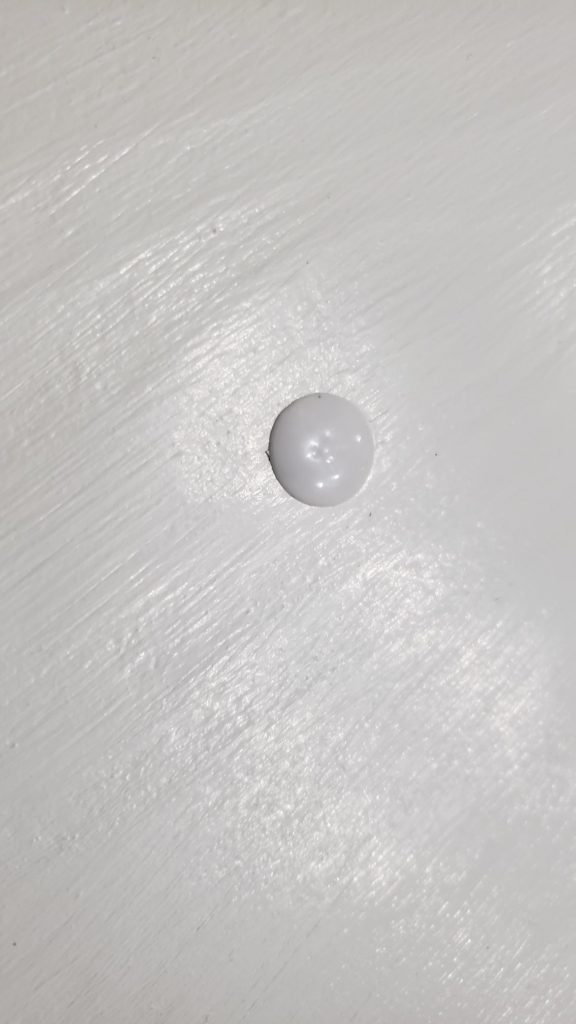
When the new platforms were assembled, we painted them with two coats of paint. We placed self-adhesive felt pads on the bottom of the strips, positioned the units on tops of the original platforms, and then screwed the new platforms down. We had to do some detailed measuring in order to be certain to hit the proper areas and cross-members on the original platform. For a finished look, we purchased white poly caps to cover the screw heads.
There ya’ have it! As I’m fond of saying…..”See how easy that was?!” We are very pleased with the final result….Happy Campers, one might say.
Respectfully submitted,
Major Airhead
Disclaimer: Streaming Airheads is a participant in the Amazon Services LLC Associates Program, an affiliate advertising program designed to provide a means for sites to earn advertising fees by advertising and linking to Amazon.com
Recent Comments